Clean grout in your garden patio with these 4 easy steps
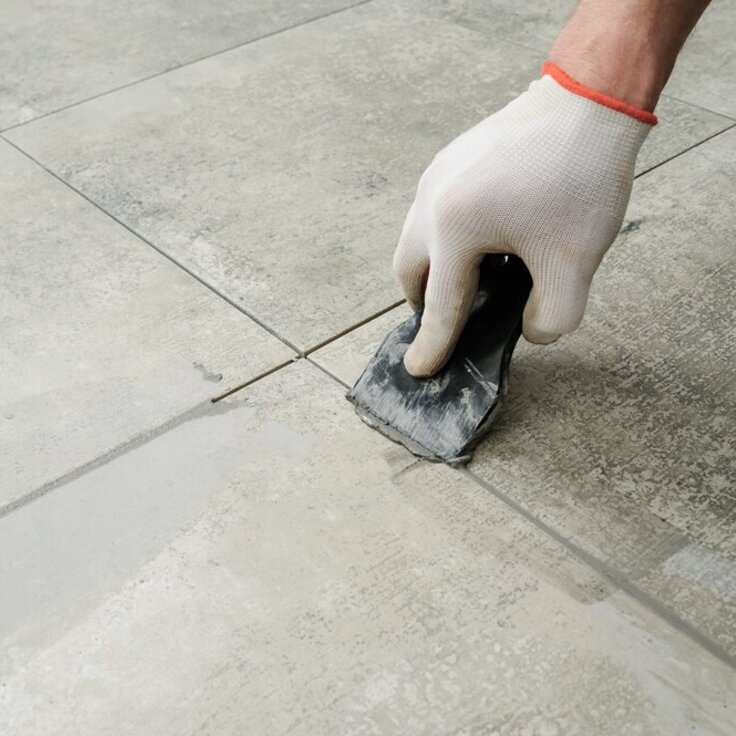
Grout cleaning is one of the most unpopular kinds of chore due to the many people overlooking grout cleanliness. This is quite unfortunate because believe it or not, dirty grout can totally spoil the overall aesthetics of your home, including your garden patio. Just imagine if the appearance of your lovely garden patio that you use to enjoy your evening time with your family is spoiled because of grout. It will turn your nice evening into a regular one or even a disaster. Because of this, you have to keep your garden patio look nice by cleaning the grout between its tiles regularly by implementing the following 4 easy steps to clean grout in your garden patio.
Prepare the area and gather supplies
The first step on how to clean grout in your garden patio is to prepare the area and gather supplies. So, for this first step, you have to move away any furniture and plants from the garden patio so that they won’t obstruct you when you do the job. In addition, you also have to remove loose dirt and debris from the area using a broom so that they won’t make the tiles and grout even dirtier. As for the supplies, you will need a cleaning solution, small brush (an old toothbrush should be nice enough), spray bottle, and microfiber cloth. As for the cleaning solution, although vinegar and baking soda can get the job done, it’s still recommended to use a commercial grout cleaner product because it’s already clinically proven.
Apply a cleaning solution
Once you have prepared the area and have all the supplies needed, then the next step is to apply a cleaning solution that you have prepared before. In this case, you only need to follow the instructions written on the cleaning solution bottle. However, they usually require you to apply the cleaning solution to the grout adequately before letting it sit there for several minutes (usually 5-10 minutes). To make the job easier, you can put the cleaning solution in the spray bottle that you have prepared before and spray it on the grout adequately.
Scrub the grout lines
After applying the cleaning solution on the grout adequately and letting it sit there for several minutes, the next step to do is to scrub the grout lines. To do this part, you need the small brush that you have prepared before. You only need to scrub the grout lines with the small brush thoroughly until all the grime and stains are lifted. Just remember to not scrub the grout with too much force because it can be damaged.
Rinse and dry the area
Once you have scrubbed the grout lines and all grime and stains are lifted, then the last step is to rinse and dry the area with the grout. For this part, you will need warm water to rinse the grout and lift any remaining cleaning solution and grime. Once they are already lifted away with the water, then you can start drying the grout and tiles with the microfiber cloth you have prepared before. Just wipe the surfaces and grout lines gently with the microfiber cloth until the area is totally clean.


